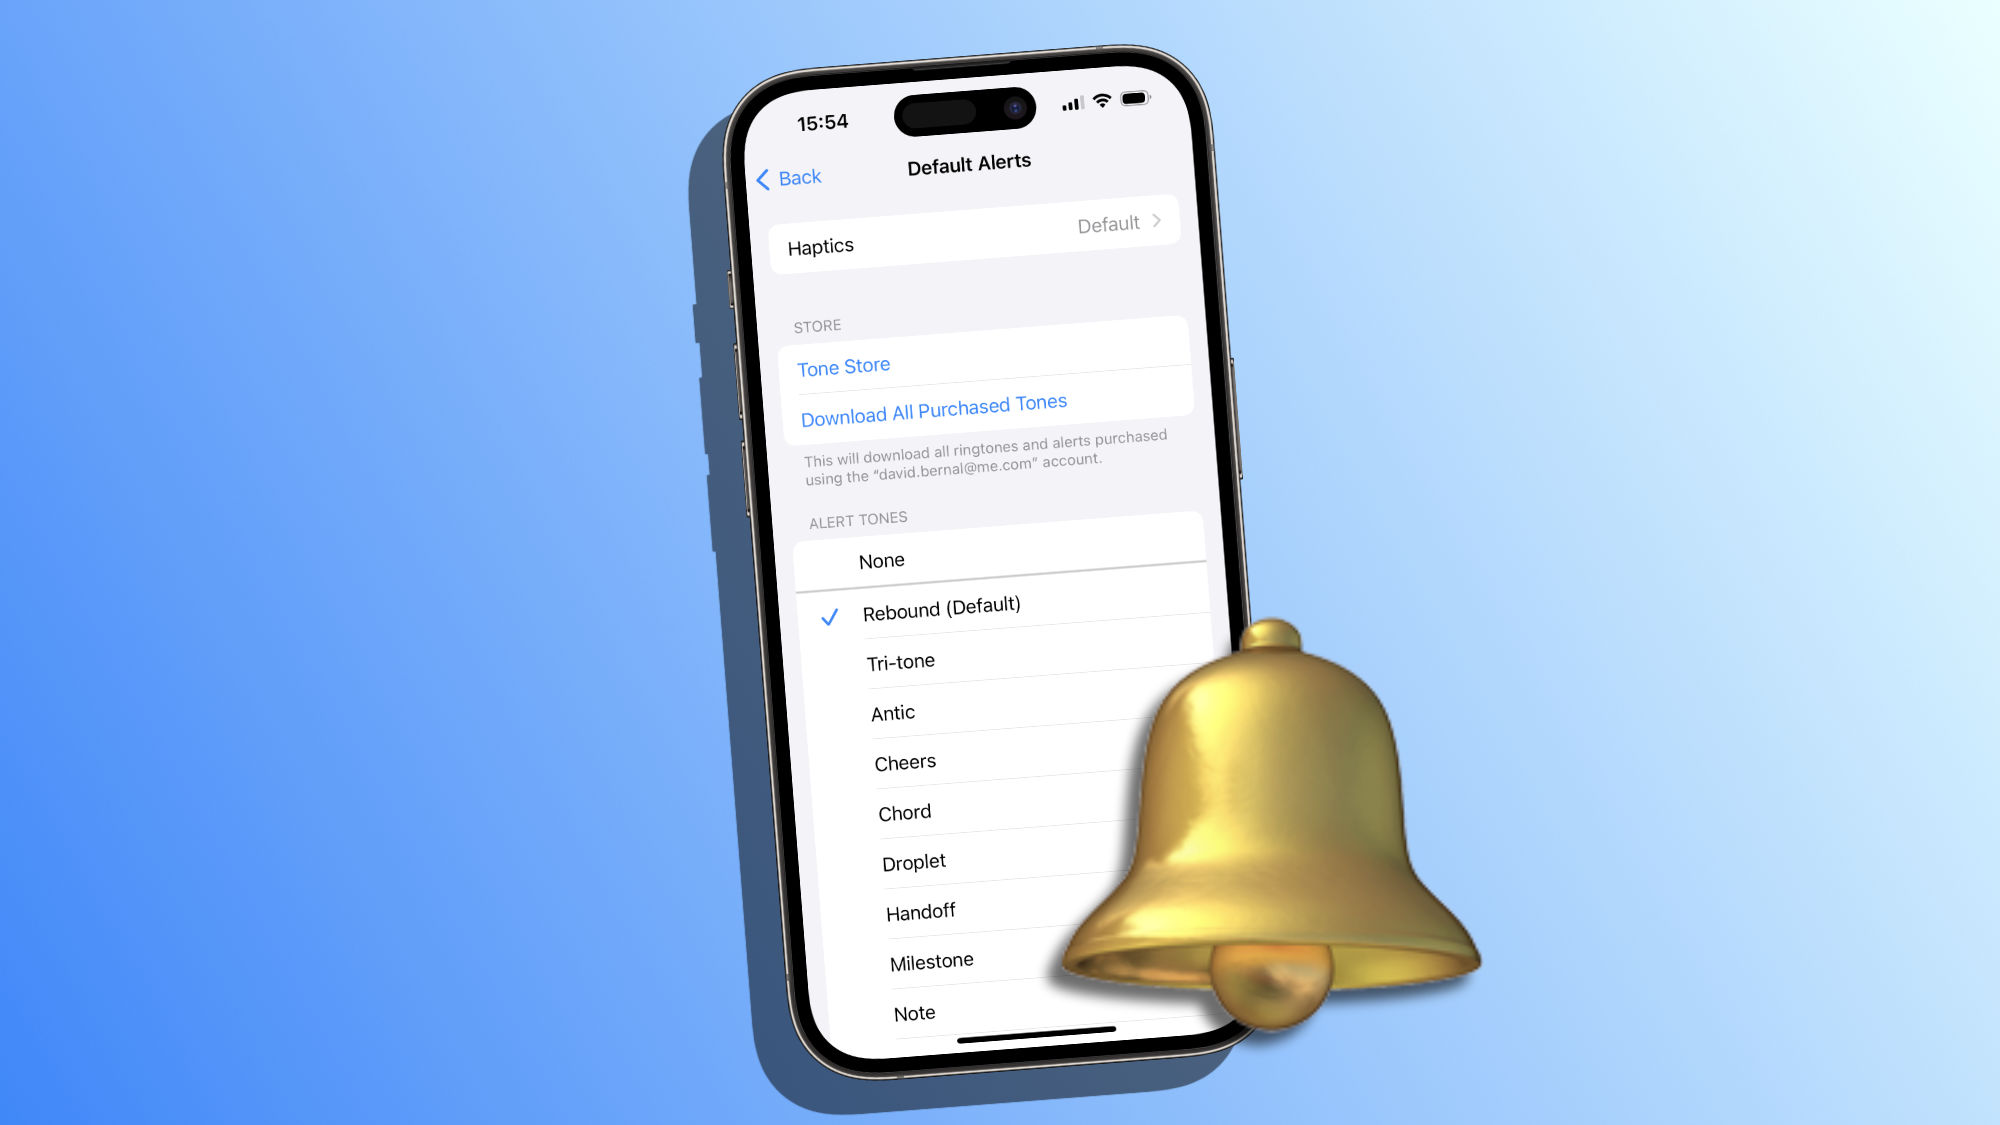
When an app sends us a notification, it can decide to use a specific, personalized sound to distinguish itself from others or use the system's default sound. A sound that, if we wish, we can customize to suit our personal preferences and tastes. Let's see how to do it.
How to customize the default notification tone on the iPhone
For years, the iPhone's sound settings allowed us to choose custom ring tones and message sounds, even create them with GarageBand or purchase them from the store. We could select an alert sound for incoming calls, text messages, voicemail, emails, as well as for calendar alerts and reminders.
It's with iOS 17.2 that we can also modify the default notification sound. Something we can do very easily by following these steps:
- Open the Settings app on our iPhone or iPad.
- Go to Sound & Haptics.
- Go to Default Alerts.
- Choose our new sound for the alert tone. We can choose from a variety of built-in sounds, buy a tone in the Tone Store, or choose not to use any sound.
- We can also change the vibration used. To do this, simply tap at the top in the Vibration section.
- Press Back to confirm and save the changes.
After making these changes, all future iPhone notification sounds will use the new selected sound, except, it's important to note, for apps that use their own custom sound.
The flexibility in customizing notification sounds offers us one more way to make our iPhone even more personal and suited to our tastes. Whether we prefer the default Rebound sound or the nostalgic Tri-tone (default in the system until iOS 16), the choice is entirely ours.
On Hanaringo | What is Apple Music's Autoplay and How to Activate or Deactivate It Depending on the Music We Want to Listen to

